Whether its your own house that you’re wanting to photograph, or the house of a friend or client, a great first step, a must really, is to take a good look round the house a week or so before the scheduled shoot. Go into every room and write down things you can get or make to elevate the room, for example lovely smelling candles, luxury hand soap and hand lotion etc. A good tip is to pick certain items that you’re willing to spend a bit more on, and pair them with inexpensive items. This will bring up the whole value of the room. People will be more drawn to those luxury brands they know, even if there’s only one label in the room, the impression of a luxury bathroom will have already been drawn. If you maybe haven’t done this before, a simple trick is to google or look on Pinterest for images of bathrooms you love, they will have all the inspiration you need. So, you can pick out the ones you like or find similar ones that suit you.

Thinking about your lighting options and time of day is essential. Absolutely essential. When you are scrolling through pictures of houses on a property website, which ones are you most drawn to; the ones that are dark and clearly taken in winter or at night? Or the ones that look light and bright with lots of natural sunshine coming in? The answer is obvious, so take care to consider the timing of your shoot, and assume it is going to take much longer than you anticipate!
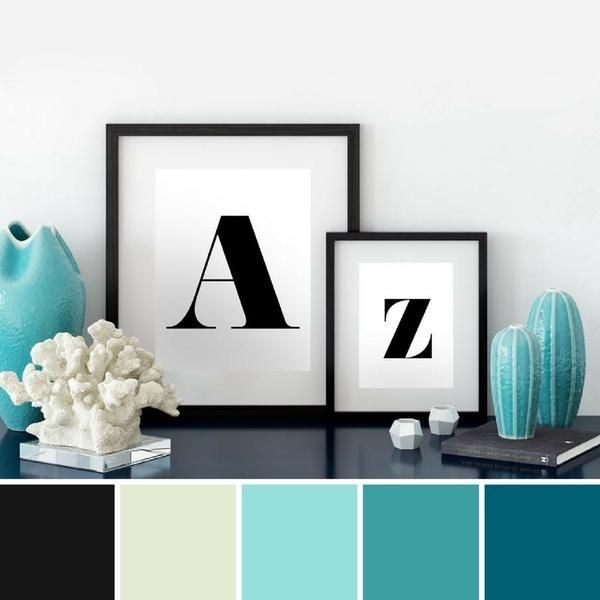
Another top tip we’ve picked up over the years is to decide on a colour scheme for your accessories throughout each room, and to stick to it as best as possible. The colour scheme should compile of 2-3 colours max. If you’re feeling like an extra challenge you can try incorporating one colour running throughout each room. This will give the whole house the feel of being deliberately thought about.
The devil is in the detail!
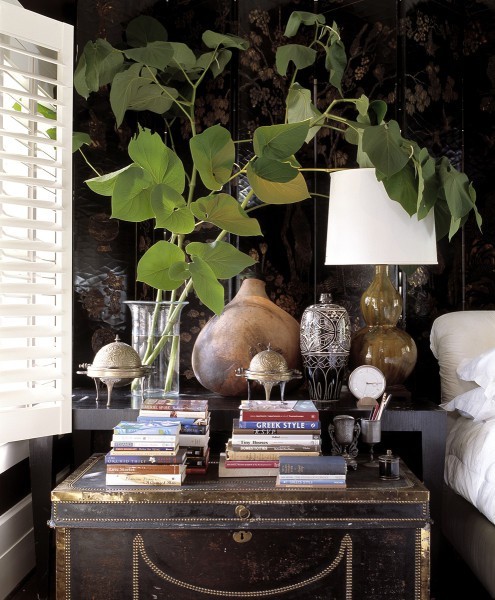
Usually when photographing a house, in each room there will be a focus point, in a bedroom it is largely the bed, in a kitchen it is the island or oven as those tend to be in the middle. These items tend to be the focus because they are the ones that people are most proud of or want to show off. So, for them to remain the centre pieces you need to think about layering their surroundings to bring maximum attention. It is often best to work symmetrically, think of it as using other items to make your main item the star of the shot!
Tying in with this point, it is important to keep in mind drawing the viewers eyes to different levels of the room. You don’t want to have all the action at eye level only. This applies to mixing items of different scales. Pairing larger items with smaller items will give the bigger ones a greater sense of drama and attitude. Whether you are working with a space with lots of bit and bobs or a mostly stripped back interior, both can throw problems at you at first glance. A minimalist space won’t have many items to work with, and a maximalist space will have too much! It is a great skill to know when less is more, and when its time to have a bit of a cull. For most of us, a cull should be more of a regular occurrence than we may lead ourselves to believe!
If it isn’t your house that you’re setting up to photograph, and the clients or owners of the property are on the hoarder side of the spectrum, don’t hold back on making a ‘creative decision’ to move some things out while you shoot.
It is important to not forget the floor and ceiling, a bare floor can look very uninviting and cold especially on stone or wooden flooring. A lovely rug can add some much-needed warmth, texture and character.
When getting down to the actual photographing, be sure to use a wide-angle lens to get the whole scene. And don’t forget to get some close ups of details you like. In the close ups it is a good idea to put different colours and textures together to create an exciting image. If you want to get really clever you can refer to the colour wheel and play around with complimentary and clashing colours to create some really dynamic images.
But the moral of the story and words to live by in all aspects of life is Accessories, Accessories, Accessories! Choosing the right ones will get you far and the more you practice, the better you will be. After you’ve done a few, you can start building up a file or spreadsheet of items you particularly love and have been using a lot. This will become your database and is an incredibly handy tool to have. Gone will be the days of searching for that one thing you used on a project months ago, can see in your mind but can’t remember the name of!
